I’m normally a sucker for researching possible photographic opportunities and conditions before a trip, so naturally when I found out I would be heading away on a dream trip I wanted to make sure I was well prepared. For advice on camera gear to take I asked a friend that had been to the Subantarctics with Heritage Expeditions before. Her advice was “just take everything”. Well, that made it easy!
My usual photographic targets are landscapes while hiking or wildlife, so I was already well set up for a trip like this. Before COVID-19 began spreading around the world my partner and I were booked on a three month trip from Kenya to South Africa, which would have been a photographer’s dream with plenty of opportunities for wildlife spotting. Unfortunately we had to cancel the trip, but I had done a lot of research on what camera gear to take and things to keep in mind. This all translated well to my trip to the Subantarctics as the key principles were the same; be prepared for different situations, have two camera bodies to avoid switching lenses in the field or missing a shot because the wrong lens is on, and have redundancies in case some gear fails.
For me, “take everything” meant a Nikon Z6 (full frame sensor) with 24-70mm f4, Nikon D500 (APS-C/crop sensor) and Tamron 100-400mm, with a 300mm f4 as backup. My Z6 and 24-70mm gave me a small but highly capable setup for scenery and my D500 and 100-400mm (150-600mm full frame equivalent) covered wildlife big and small, near and far. An added bonus was that I already owned the gear and was familiar with it. If I had to recommend camera gear for someone doing the same or similar trip, that would be a key consideration. Many of the wildlife encounters are so fast paced and unpredictable, so the last thing you want to be doing is trying to change settings of a camera you haven’t fully learnt how to use. Flexibility and redundancy are also very useful factors to take into consideration. Encountering different sized wildlife at different ranges made the zoom lens a useful change from the prime that I’m used to using, though the 300mm still came in handy when my 100-400mm was put to sleep by sideways Campbell Island rain.
Overall I was happy with my camera and lens combinations, and if I went down on the same trip again I wouldn’t change much. There were times when I wished I had a wider angle lens, like in the Auckland Island sea cave or amongst megaherb fields on Enderby and Campbell Islands. I certainly could have done with more reach at times too, as on the zodiacs you don’t have control over your position and have to make the most of whichever angle or distance to the subject you have. However the tradeoffs would have been more lenses to carry/change, and heftier telephoto lenses to carry or swing around in a cramped zodiac.
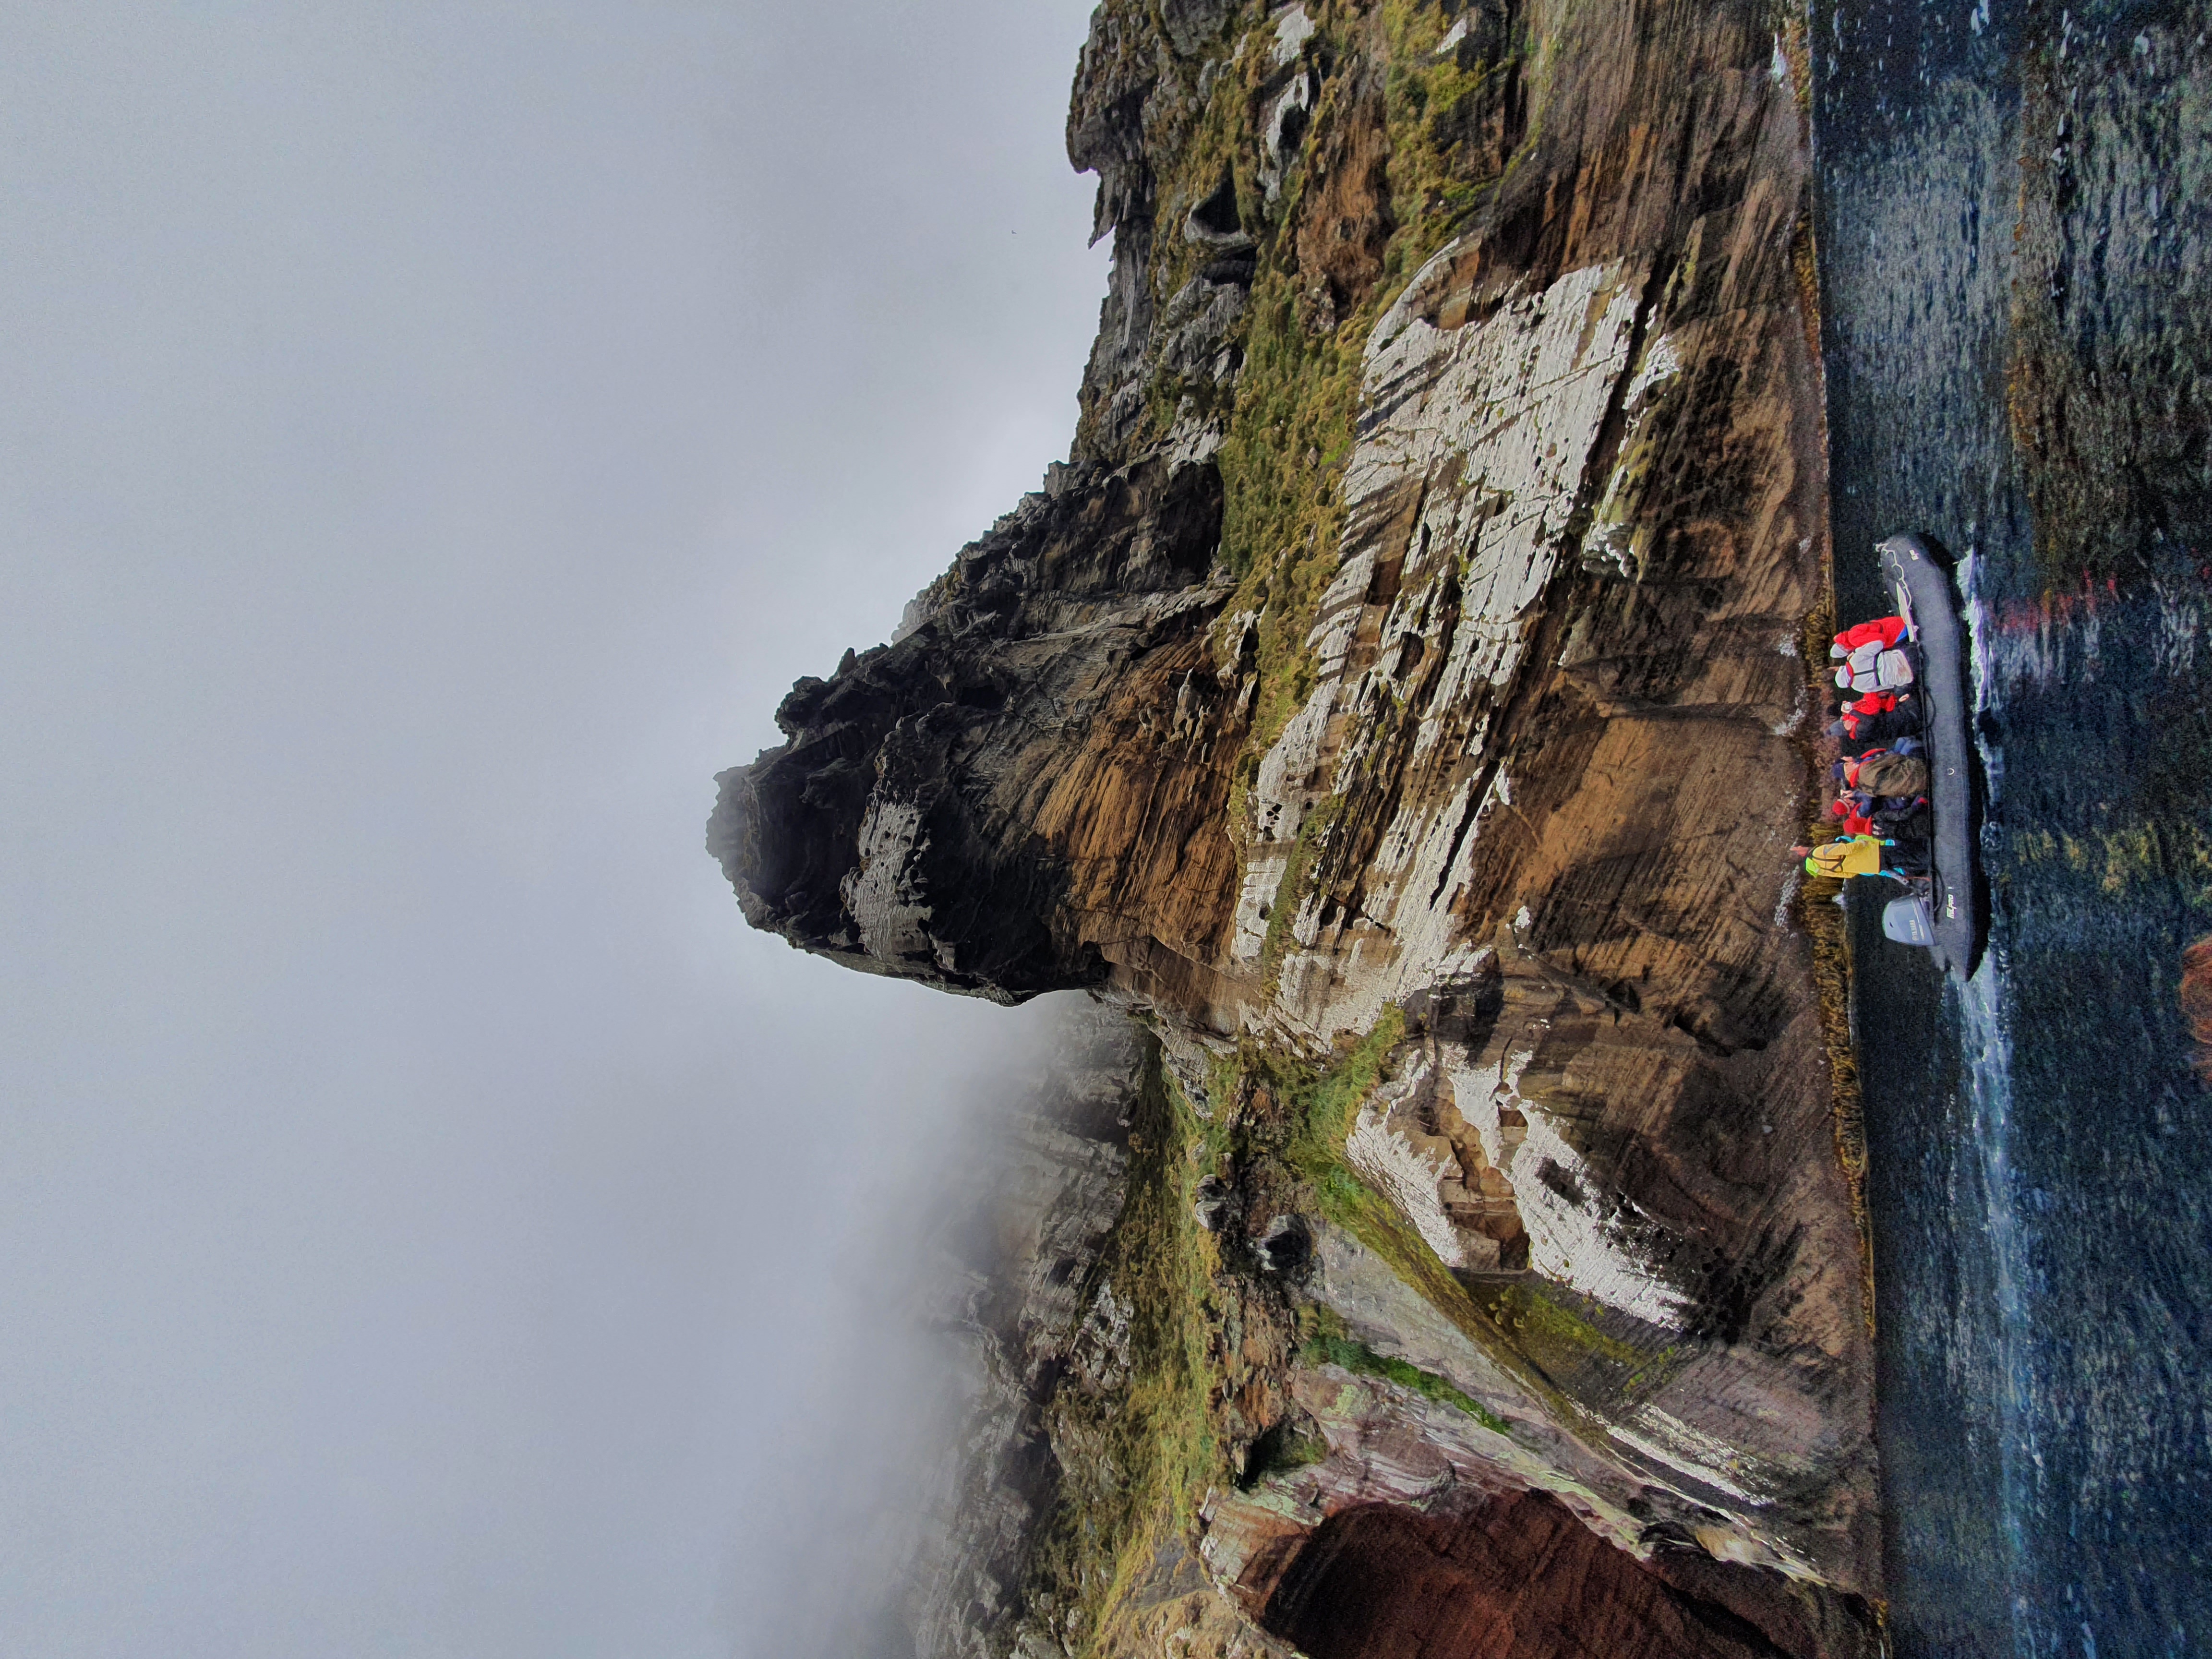
From a photography perspective the trip was quite different to how I normally shoot. Often I’m in the bush looking for forest birds, and the biggest challenge is finding them or getting a clear shot amongst the forest. On these wildlife hotspots there were no difficulties finding subjects – the difficult part was knowing where to aim the camera! On zodiac cruises around penguin colonies there was often so much action it was easy to constantly be taking photos of birds on land, at sea, or somewhere in between. Once I stopped trying to capture everything I saw I began to focus on looking for interesting compositions, predicting the movement of the zodiac and animals to try to capture a special moment or scene. My favourite images from the trip are from these moments, though taking a lot of shots of the same scene helped with composition when the zodiac is bouncing all over the place! I also quickly learnt that you need to use a fast shutter speed to get sharp shots of moving albatross from a moving boat. I generally settled for around 1/2000s minimum, and having a stabilised lens definitely helped keep my lens on target.
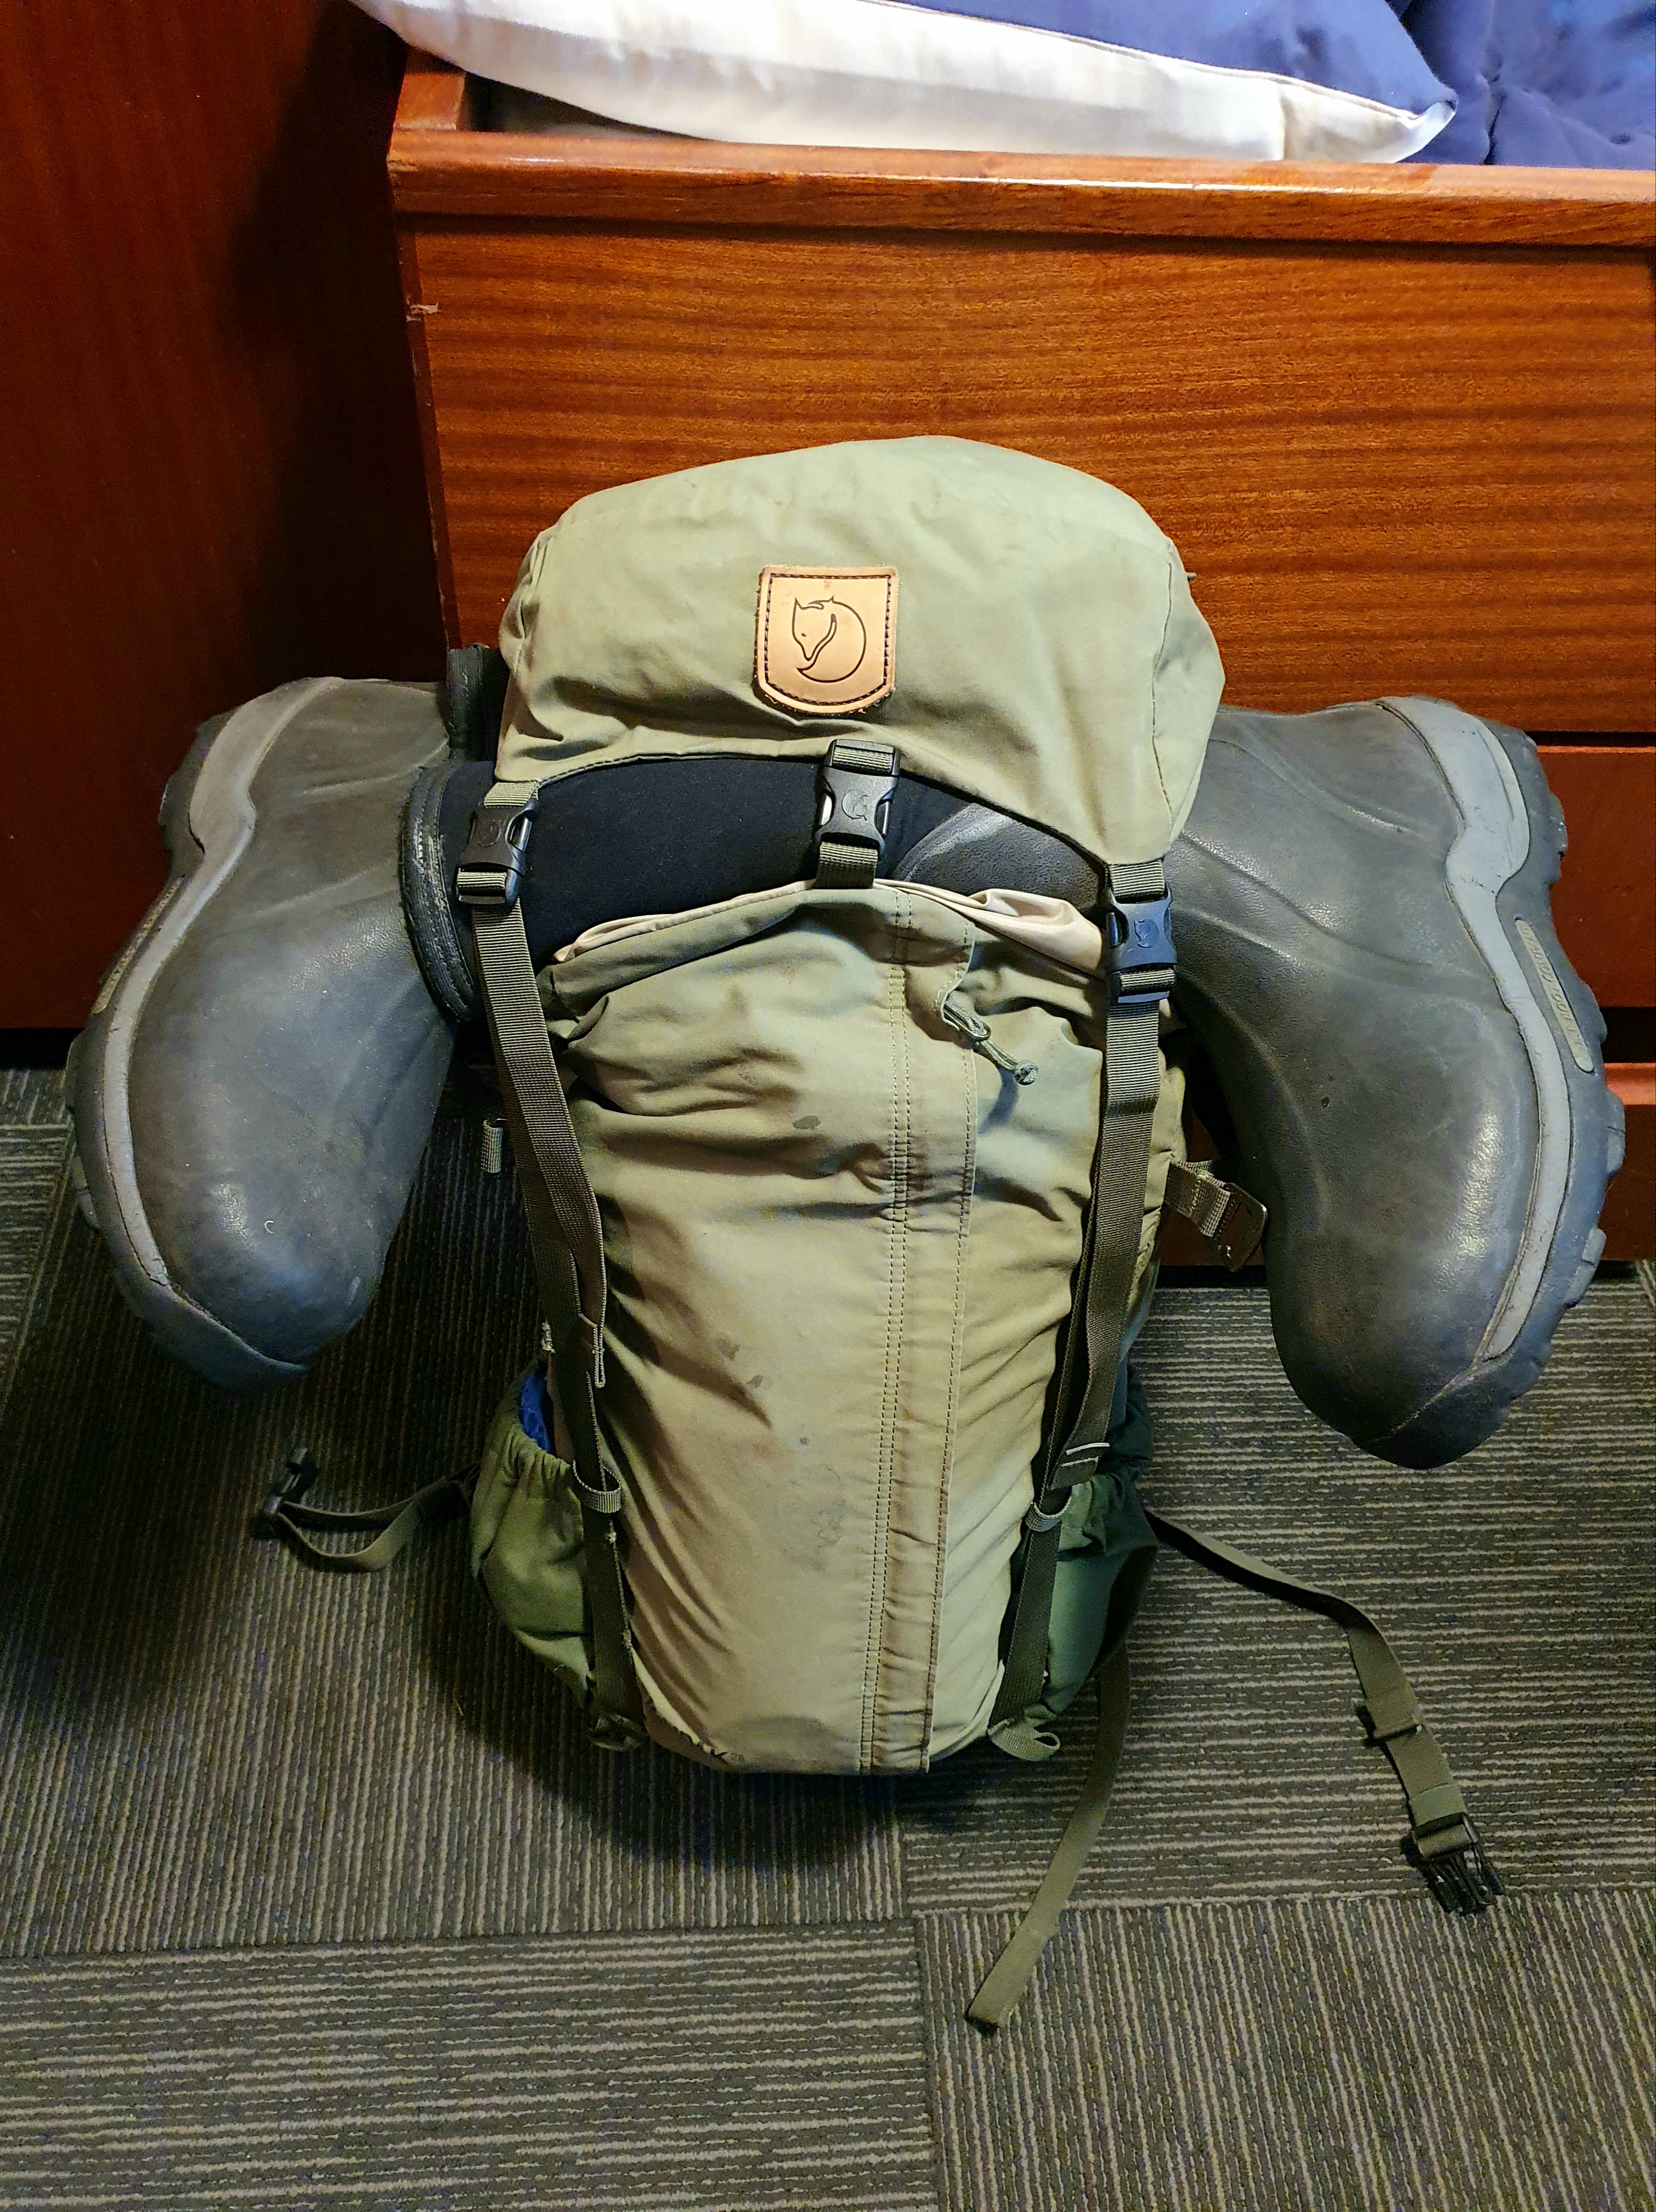
While it was fairly straight-forward choosing my camera gear and lens I spent a lot more time thinking how to carry and store my gear. We would be getting splashed by waves on the zodiacs in transit, shooting from the zodiacs near shore, doing short landings or day long excursions, and all of this could be happening in sunshine or sideways rain. I considered all these possibilities, and settled on two camera bags with rain covers that could hold my two setups, and had belt straps so I could have them on my hip or chest thanks to my backpacks waist and sternum straps. My standard day pack also had a drybag in it and rain cover. This mostly worked well, though my 100-400mm got wetter than it liked – this wasn’t the fault of my setup, more the fault of me continuing to shoot in the rain. Being able to quickly access your camera out of a drybag when in the zodiacs is massively useful. There is always a risk of rogue splashes while cruising around the coast taking photos, and plenty of chances to get soaked when shuttling from the Spirit to shore or the coast. Something like a rolltop drybag would be perfect – I suggested it to a friend that went on a voyage with Heritage after me and she said everyone was envious. Apart from bags, useful accessories included lens cloths, spare batteries, spare memory cards and a polarising filter. Many people also had laptops that they could download photos on during the trip, and there were plenty of chances to look through photos on days we were transiting from one area or island to another.
Hopefully my experiences and suggestions help other people planning a similar trip and wondering what to take into consideration. There is no right or wrong answer, as everyone has different photographic expectations, styles and gear. The Subantarctics are an incredibly photogenic place, and even a smartphone can showcase their beauty! If you are planning a trip with Heritage and are still trying to figure out what to take with you just send me a message and I’ll be more than happy to give some advice.


